How to Create beautiful Finishes with MM Metallic Plaster

Today I want to introduce you to a beautiful and very versatile product.
Modern Masters Metallic Plaster.
This plaster is a pre-colored, trowel applied, architectural coating that emits a symphonic blend of shimmer, luster, elegance and environmental friendliness. Metallic Plaster is mixed and color matched in 50 standard colors. It is durable, water resistant, mold and mildew resistant and will adhere to any primed surface. This lightweight water base coating applies easily and can be used to create a wide variety of decorative finishes.
Features and Benefits:
- Metallic Plaster goes 30%-40% further than similar plasters making it a better value
- A beautiful shimmering finish can be achieved in just two layers, saving time and money
- Creates enhanced luster and shimmer with our special blend of glass spheres, pearlescent and mica particles
- Advanced color matching technologies provides consistent color and performance from batch to batch
- Enhanced adhesion prevents the finish from pulling off when removing masking patterns, painter’s tapes or adhesive backed stencils
- Superior surface durability allows for glazing directly to the Metallic Plaster finish eliminating the need for barrier coats
- Contains no hazardous components and qualifies as a LEED specifiable material
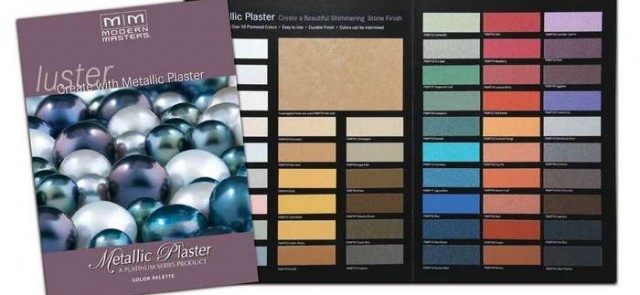
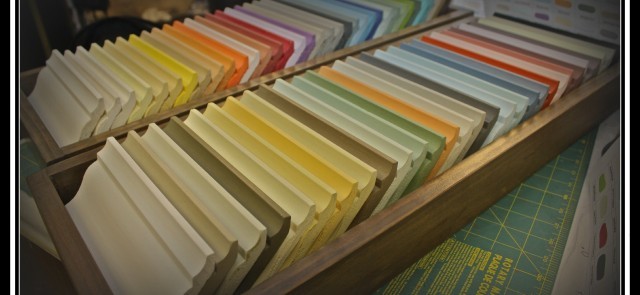
Modern Masters Metallic Plasters Color Chart
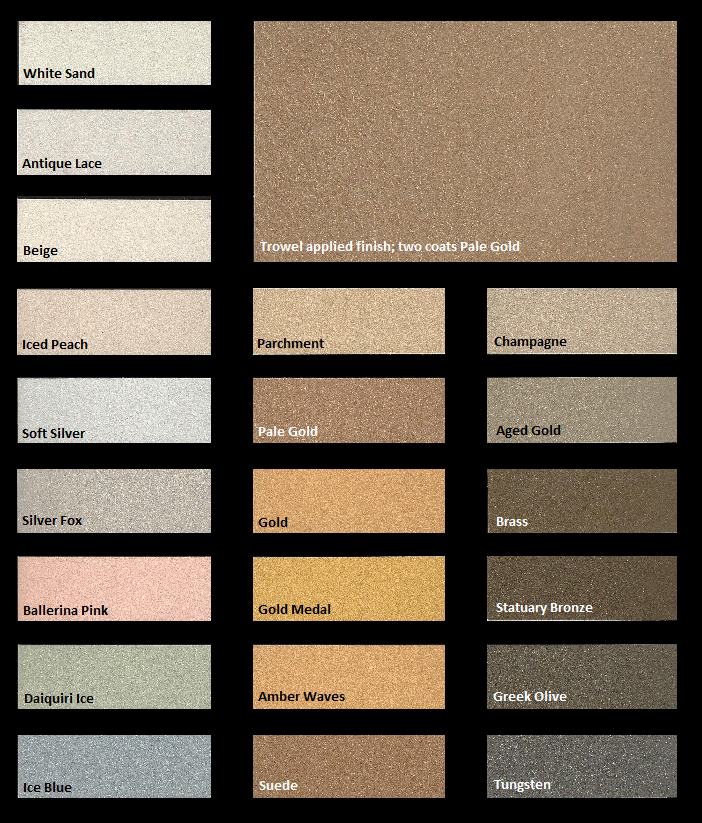
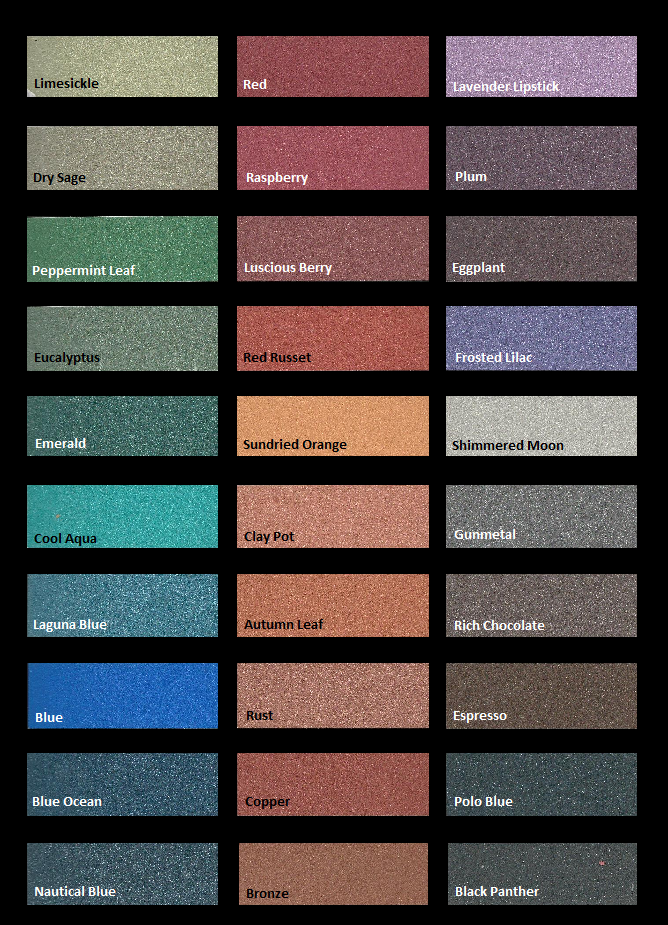
As you can see the colors are beautiful and the finishes we can create with these products are just fabulous .
The most popular finish I apply to walls, is a simple one color troweled application.
This plaster can be applied over a flat, eggshell or satin finish base coat. I prefer to go over smooth surfaces with no texture. I usually choose a color similar to my plaster color for the base coat, but if the existing base coat is in good shape you can go over that.
I start by adding 10% of water to my plaster. Make sure you mix it very well. With a short nap roller I apply my scratch coat in a random pattern covering the surface 100%. Do not worry if your surface dos not look good. You won’t be able to see this coat once you have applied your final layer. Let it dry.
For the second coat you will need a trowel. I prefer the japanese trowel for this application but you can use any trowel you desire.
Start by applying a smooth skim coat to the entire surface with your trowel. This coat is a very thin coat, covering 100% of the surface. Let it dry.
Then you will apply another coat. This time it will be a skip troweled coat or DNA. This coat consist of applying plaster to 70% of the surface, leaving some of the skim coat (previous coat) showing. Let it dry. This coat will give your finish a textural effect.
Lastly you will apply another troweled coat. Again this coat needs to be a thin coat, you will cover the entire surface. While applying this thin skim coat you are burnishing your surface and breaking the micas in the plasters, this allows the plaster to have that shimmery beautiful look. And that’s all!
Here is a picture of all you need to create a metallic plaster finish. FYI I don’t use the sponge roller. I prefer the short nap roller for my applications.

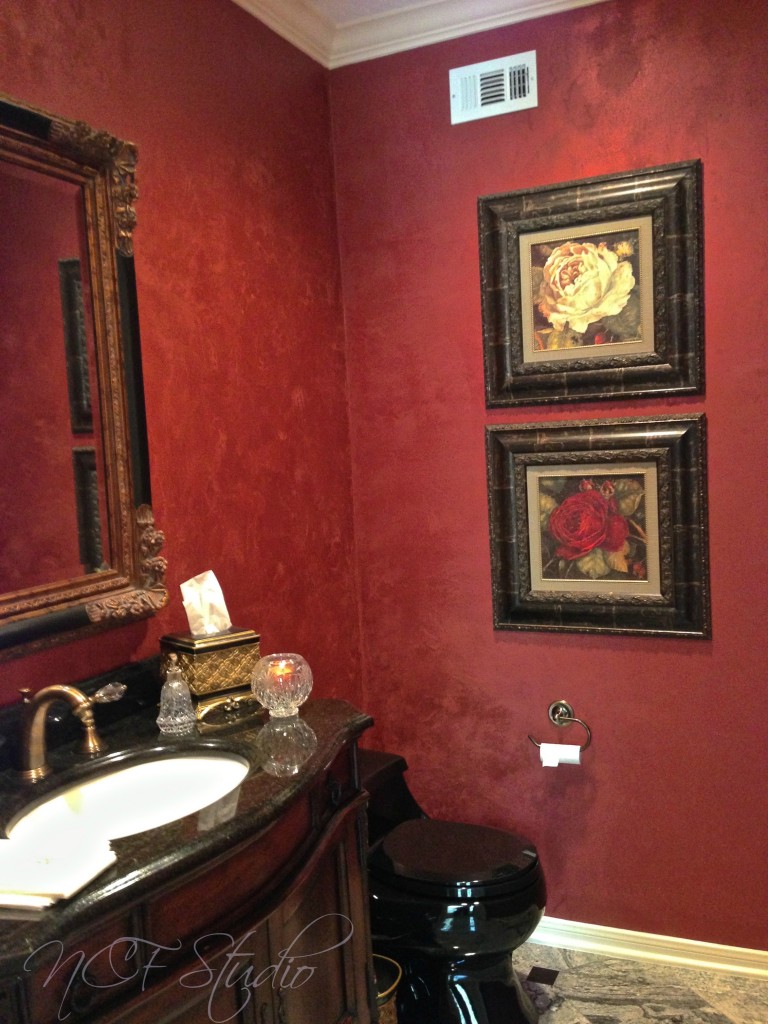
This is a picture of a ceiling finish with the technique described above.

Here is another project with the same technique
There are a lot of other finishes that can be created with these plasters but as you can see, even this simple technique makes it a beautiful finish.
I hope you find this informative. For more information on these plasters please call the studio.
Till then,
Nena


Location
Houston Texas
713.594.0198
Newsletter Signup
Thank you for visiting with us today. If you are interested in learning about new upcoming classes or products, please sign up for your newsletter.